
Linux – it’s the Marmite (TM) of operating systems. Loved by network and systems engineers, adored by techies, but the average person-in-the-street is not so enamoured by it. In fact, the latest data from statcounter, shows Linux accounting for just over 4% of the consumer market for desktop operating systems.
Why is Linux so unpopular?

Linus Torvalds
Why might a completely free operating system (OS), with a perfectly good visual user interface, just like Windows and MacOS, be so unpopular? Unfortunately, it can be a bit difficult to get your head around. That dreaded command-line and typed instructions are still used for many day-to-day tasks, decades after other desktop operating systems abandoned them for point-and-click alternatives.
Installing software can be another source of frustration. One typo and the task fails – sometimes terminally. Fixing a failed installation isn’t as easy dragging an icon out of the Applications folder into the trash bin either. Then you have to go through this for every application you want to install.
It’s actually rather good
However, Linux is free, it’s also very secure. It’s extremely capable and it will run on computers that other operating systems won’t due to their age and limited specification. So, having spent all your dosh on a top-of-the-range transceiver and antenna system, a Linux computer makes perfect sense for controlling it, logging and operating digital and video modes.
Then there’s the Raspberry Pi – just £114 (at the time of writing) buys you a complete brand new 400 setup – all you need to add is a monitor or HDMI equipped television. It’s cheaper than any other brand new desktop or laptop computer, more than adequate in terms of power and you can experiment with electronics and design your own shack accessories – not so easy with a Windows/MacOS computer.
Amateur radio on Linux made easy
Linux is, therefore, well worth considering for your next shack computer’s operating system – you can do everything you can on a Windows or MacOS device. But what about that dreaded command line and having to type instructions to install all your software?
If you’re competent with Linux, then you’re okay to start installing the required amateur radio apps from the command line. However, for the rest of us there is good news; there are a number of systems available to radio amateurs that remove the perceived stress and anxiety that comes with using Linux. We’ve picked four below at random, but there are others. These include: HamPi, and HamPC – there may be more and we’re happy to include links to them here if you let us know about them.
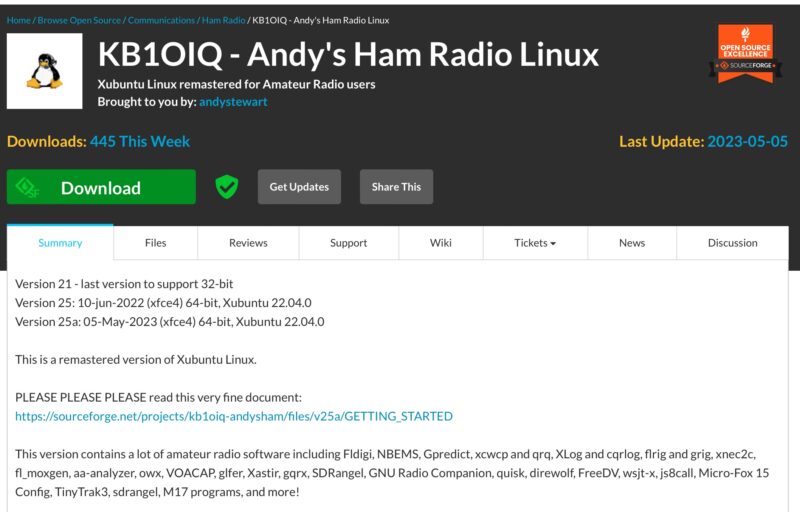
Andy’s Amateur Radio Linux is a Linux Distro (distribution) for Intel/AMD based desktop and laptop computers.
Installation is pretty easy. You download an ISO image from Andy’s SourceForge website and burn it to an SD card/pen drive. Once done you boot your computer from the card/drive and either use the system from there (without having to get rid of your computer’s native operating system), or install everything on your computer’s hard drive (and make this your computer’s primary OS).
The version of Linux installed is Xubuntu, which is based on Debian Bullseye – one of the industry-standard Linux distros. All Debian versions are named after Toy Story characters. Bookworm is the latest version and Bullseye the previous version. Bullseye is still stable and supported with updates and security patches – so there’s no issue running it.
Included with the Linux distribution are a whole host of amateur radio, electronics, propagation, science and sound applications – all pre-installed and ready to go – no command line instructions are required.
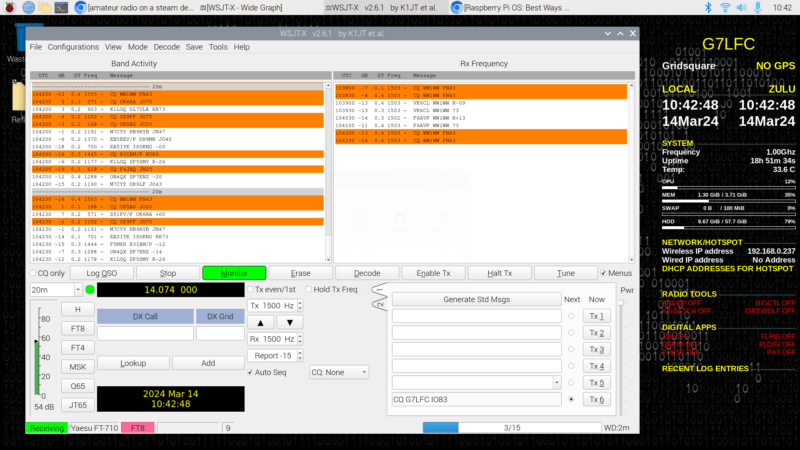
Unlike Andy’s Ham Radio Linux, Build-a-Pi is designed to run on a low-cost Raspberry Pi.
It is not a distro you download, burn on to an SD card/memory stick and run/install on your device either. To install Build-a-Pi you need to have Raspberry Pi up-and-running with a connection to the Internet. You open the terminal application and type in a single command. However, that’s the last time you will need to use the command line, everything thereafter is done using the graphical user interface (GUI) and a mouse.
The installation app is downloaded and you can then select the amateur radio applications you want to install – this means that your Pi will not be full of pre-prescribed apps that you don’t want. The installer does all the hard work of downloading the chosen apps from the Internet and installing them for you. Should you want to install more apps later, just run the installer again.
Compatibility with a Pi 4/400 running Raspberry Pi OS (Bullseye) is fine, but there are a few issues with the later Raspberry Pi OS (Bookworm) that the Pi 5 uses – a few apps don’t work properly. However, there are some fixes that are relatively easy to apply to resolve these issues if you are so inclined.
This is a well supported system with lots of videos from the software’s author on how to install, use and get the best out of Build-a-Pi.
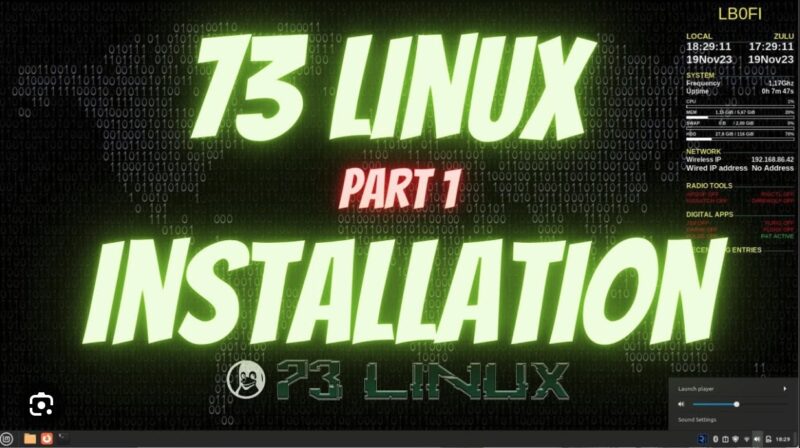
This is the next iteration of KM4ACK’s Build-a-Pi and the big news here is that it runs on Intel/AMD equipped desktop and laptop computers, as well as the Raspberry Pi. Desktops and laptops should be running a 64-bit Debian based Linux distribution (e.g. Ubuntu, Raspberry Pi OS for Desktops, Mint etc.).
This really is a great distro for clubs and their members. For one, you can tailor 73Linux to include your own apps (using BAPP files) for distribution to members of your club. Secondly, if you have several devices, they can all be set up identically – regardless of whether they are desktops, laptops, or Raspberry Pis.
Like Build-a-Pi, 73Linux will run quite happily on Bullseye versions of Debian. But, once again, it does have the same issue (and fix) when using Bookworm. It is hoped that a new version will appear in the near future that will support the latest Bookworm versions of Linux properly.

Now this really is very different to the previous three systems.
DigiPi is a distro you download from the Internet and ‘burn’ to an SD card for installation. Similar to Andy’s Linux, it comes pre-installed with several of the most useful amateur radio applications. It runs on a Raspberry Pi, but is based on the very latest Raspberry Pi OS (Bookworm) so that includes the Raspberry Pi 5. However, when you boot up the Pi, you won’t see a traditional desktop with icons and mouse pointer, just a black screen full of white text and login prompt at the bottom. Don’t!
That’s it, your Raspberry Pi is now fully operational and waiting for you to use it. The big secret with this system is that your Raspberry Pi doesn’t need a screen, keyboard or mouse (this is known as headless operation). It just needs to be connected to your radio via a USB cable, sound card, or a data interface. You the simply connect a tablet (or desktop/laptop) to your Raspberry Pi by typing the web address http://10.0.0.5 into its web browser – and that’s it. This enables you to remote control the Pi and choose applications for it to run, from your tablet. Once loaded your tablet becomes the Raspberry Pi’s screen, keyboard and mouse.
There aren’t as many choices of amateur radio apps to use with this system, but everything you could want is there; a software Packet Radio terminal node controller (TNC), APRS, WSJTX for FT8, FT4 and the like, JS8Call, FLDigi data comms (inc. Packet, PSK), a Packet Bulletin Board System (BBS), rig control, and SSTV. And if you need a logbook, well you’ve got your tablet for that.
This system was displayed working at the Quantum Technology Club meeting yesterday evening. During the presentation a few advantages of this system were pointed out that the others don’t benefit from …
- A Raspberry Pi can be run off a 10,000 mA USB battery pack, and a tablet off its internal batteries, for quite a while. This makes it an ideal setup for portable operations – SOTA (Summits on the Air), POTA (Parks on the Air), etc.
- You can connect your Raspberry Pi to a WiFi network. Instead of accessing the Raspberry Pi from your tablet using the Pi’s own 10.0.0.5 IP address, you use the IP address assigned to it by the network’s router. This enables you to remote control your radio from anywhere in the house. This has been tested and the latency (the time it takes the transceiver to start transmitting once you have told it transmit on the tablet) is good enough for FT8 communications – and that is a very time critical application.
- You can run this on a Raspberry Pi Zero 2 W. That’s the really small one, about a third the size of a regular Raspberry Pi. It does have to be the ‘Z’ variant though, as that’s the one with built-in WiFi.
Until recently, Foundation and Intermediate licence holders have been unable to remote control their transceivers, but with the recent changes made by Ofcom, this system now makes remote control quick and easy for all UK radio amateurs.
We hope this short introduction to running amateur radio applications on a Linux device has generated some curiosity and encouraged you to have a go. Time to dust off that old tower/laptop computer, or get out that Raspberry Pi that you bought, thinking it would come in handy one day.
Credits: Linux logo used under the Pixabay Content Licence.